


Recent Posts


DIY Wine Rack: An X-Shelf IKEA Hack
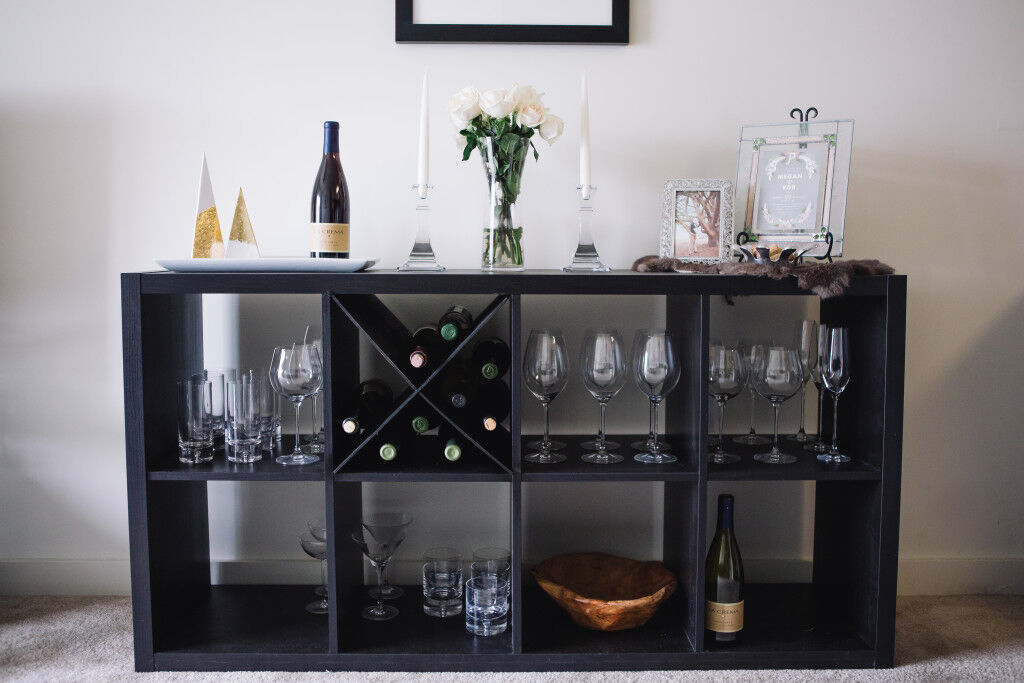
In January, I shared my newest piece of storage furniture along with some tips for staying organized in 2015. This month, I'm back to show you how I turned that same shelf into a custom wine rack with a simple IKEA hack—an x-shelf! Now I can store wine bottles horizontally, and it makes my living room look like a classy little wine cellar.
I only made one for now, but you could fill an entire shelf with these. And storing wine on it's side is vastly preferable to upright, as it allows the cork to stay moist. There are lots of tutorials out there for x-shelves that involve cutting a notch out of the middle of each piece of wood and sliding them together, but I am not the most handy and wanted to see if there was an easier way. Turns out there is! I'll show you how (and remember safety first, use safety gear when attempting this build).
Transforming Your Living Room into a Home Wine Cellar
This project is about more than just finding a place for your bottles. It is about creating a dedicated space that reflects your style and your love for great wine. By adding this custom X-shelf to a piece of furniture you already own, you are essentially elevating your entire living area. It turns a standard, everyday storage unit into a sophisticated home wine cellar that feels completely intentional.
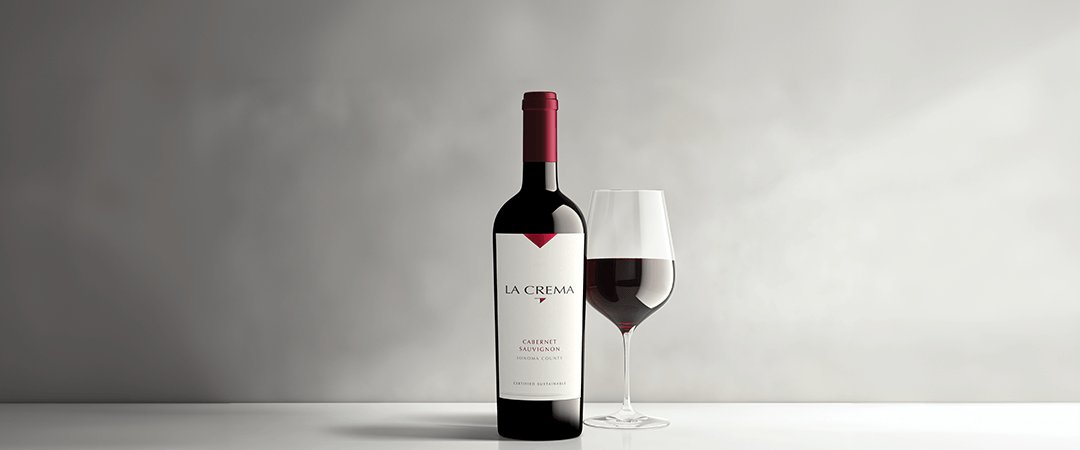
There is something so satisfying about having a beautiful focal point in your home. Instead of tucking your bottles away in a dark pantry or leaving them cluttered on a kitchen counter, this hack allows you to put your collection on display. It creates a "wine station" vibe that immediately draws the eye and serves as a natural conversation starter when you are entertaining. When guests walk into the room and see a neatly organized, custom-built rack filled with your favorite La Crema varietals, it sets a polished tone for the whole evening. It proves that you do not need a massive basement or a professional contractor to enjoy a bit of vineyard-inspired luxury in your own home.

How to Build a DIY Ikea Wine Rack
Follow our step-by-step guide to get started on your home wine rack today!
Supplies:
- Two 15 inch x 18.25 inch pieces of plywood (1/8 inch thickness)
- Spray paint to match your IKEA shelf
- Wood glue
- A measuring tape
- A hand saw or, ideally, access to an electric one
- Clamps
- Chalk (optional)
Instructions:
- Measure and cut your two 15 x 18 1/4 inch pieces of plywood. (This measurement is for the IKEA KALLAX storage unit. If you have a different cubby shelving unit, you'll want to measure the depth of the shelf x diagonal of the front opening.)
- Spray paint the front, back, and sides of each piece of wood. Let dry.
- Take one of the pieces of painted wood and cut it in half (you want two 9 1/8 x 15 inch pieces).
- Now take the whole piece, start at the middle of the 18 1/4 inch side, and glue a straight line across the board. (This is where you can use the chalk--draw a line before you use the wood glue.)
- Place one of the halves firmly against the glue, clamp in place, and let dry overnight.
- The next day, repeat steps 4-5 on the other side. Let dry overnight again and touch up any missed spots with more glue.
- If you want to/need to, re-spray the side of the x-shelf that will be facing out.
- Place the x-shelf into your storage unit and load it up! Pour yourself a glass of Pinot Noir while you're at it.
Beyond the Kallax: Adapting This Hack for Any Bookshelf
While the IKEA Kallax is a fan favorite for DIY projects, you certainly are not limited to one specific brand. The beauty of this X-shelf design is that it is entirely customizable. Whether you have a vintage wooden bookshelf or a sleek modern storage unit from another retailer, you can use this same logic to create a built-in look. The trick is all in the measurements. By taking a few extra minutes to get your dimensions right, you can ensure that your wine rack fits snugly into any square cubby you already have at home.
To adapt this hack for your own furniture, you need to calculate two specific numbers.
- First, measure the depth of your shelf from the front edge to the back wall. This will be the length of your wood pieces.
- Second, you need to find the diagonal of the opening. Simply stretch your measuring tape from the top left corner to the bottom right corner of the cubby. This diagonal measurement is the width your plywood needs to be.
Once you have these two numbers, you can follow the same assembly steps used for the Kallax. By adjusting the scale to fit your specific shelving, you transform any ordinary piece of furniture into a bespoke wine display. It is a fantastic way to give an old bookshelf a second life and a much more "grown-up" purpose.

Why You Should Store Wine Horizontally
If you have ever wondered why wine cellars always feature bottles tucked away on their sides, it is not just for the aesthetic. There is a very important bit of science happening behind the scenes. While it might be tempting to stand your favorite bottles upright to save space, doing so can actually shorten the life of your wine. Storing wine horizontally is the most effective way to protect the integrity of the liquid inside and ensure that every glass you pour tastes exactly as the winemaker intended.
The primary reason for this horizontal orientation is the cork. Natural cork is a porous material that needs to stay in constant contact with the wine to remain effective. When a bottle is stored on its side, the wine keeps the cork moist and expanded. This creates an airtight seal that prevents oxygen from sneaking into the bottle. If a bottle sits upright for too long, the cork eventually dries out and shrinks. This allows air to seep in, leading to oxidation. Much like a sliced apple turns brown when left on the counter, wine that is exposed to too much oxygen will lose its vibrant fruit flavors and develop a dull, flat taste.

Breaking in Your New Rack with Favorites
Now that you have built a custom space that looks as good as a professional cellar, the fun part truly begins. A high quality rack deserves high quality wine, and there is no better way to break in your DIY project than with the acclaimed selections from La Crema. The versatile design of this rack allows you to easily organize your collection by varietal. You might fill one section with the bright, citrusy notes of a La Crema Chardonnay for casual sipping and another with an elegant, berry forward Pinot Noir for dinner parties.
Whether you are a seasoned collector or just starting to explore cool climate wines, this rack provides the perfect home for your favorites. It transforms your living room into a destination for great taste and even better conversation. Simply grab a few bottles, slide them into their new home, and take a moment to admire your handiwork. You have officially created a space where your wine can age gracefully and your home can feel like a luxury estate.